6 Reasons You Should Hire a Professional Wedding Photographer
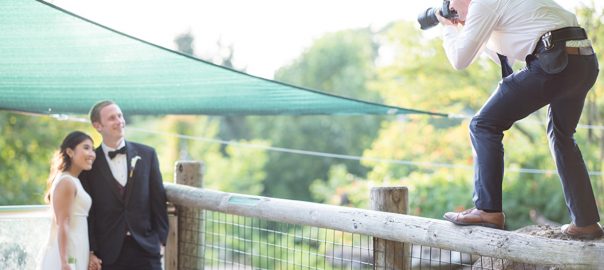
A wedding photographer narrates your love story way after your wedding. Hiring a professional wedding photographer might be the best decision that you make as you plan for your big day. In your search for the perfect photographer, you should envision what you want your photos to look like. Request for their portfolio and get them involved in the planning as well. There are plenty of reasons why you should hire a professional wedding photographer Hertfordshire, but here are some key ones;
Professional Read more [...]